
Tile flooring is the most durable option when we compare tile flooring options to the others. But sometimes, cleaning tile floors from too much water or water leakage can harm them. It can be a homeowner’s nightmare, leading to structural problems and promoting mold growth.
However, with the right approach, you can address this issue effectively. Hence, in this blog, we will discuss steps for fixing water damage under the tile floor.
6 Steps to Fix Water Damage Under Tile Floor
⇒ Identifying Water Damage
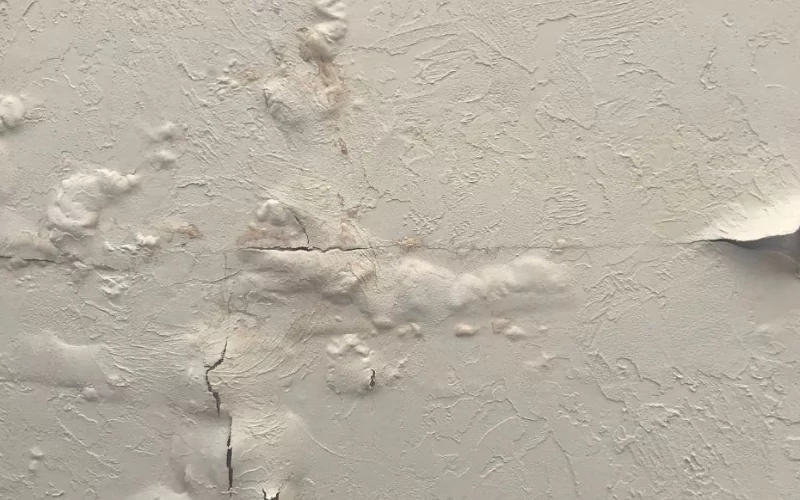
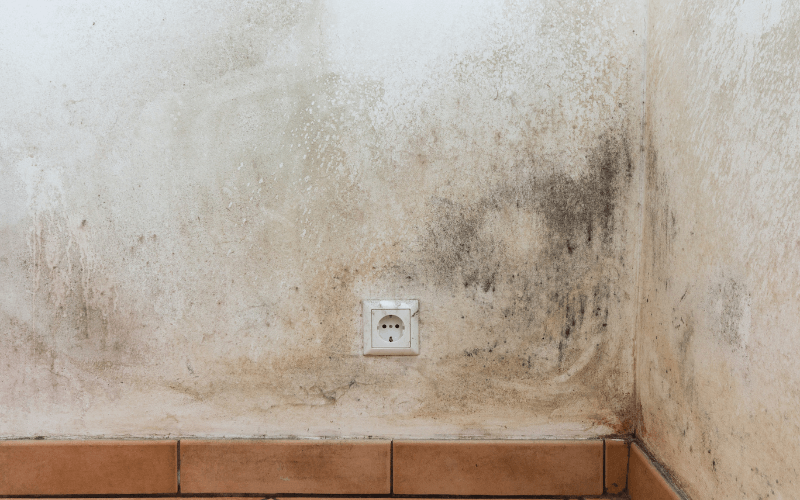
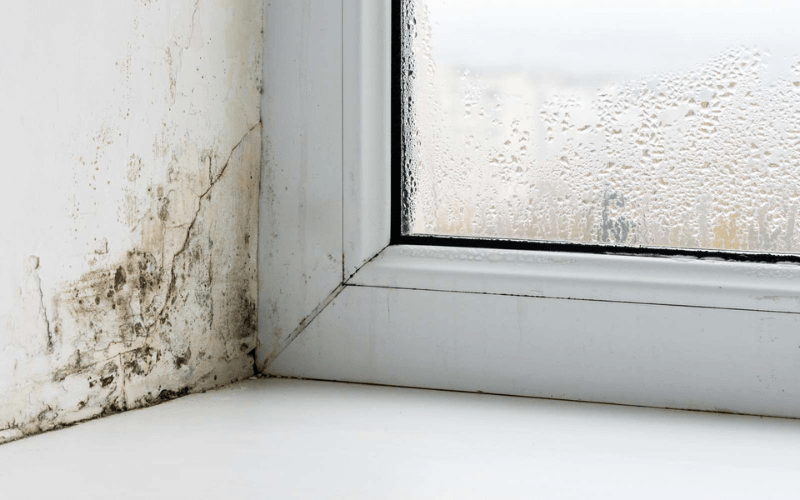
Homeowners should know some common causes of water damage and ways to prevent it. If water damages your tile flooring, then the first step is spotting the problem. Identify signs such as loose tiles, discoloration, or a musty smell.
Water damage often originates from leaky pipes or floods. Once you notice these signs, act swiftly to prevent further damage.
⇒ Preparing for Repair
After identifying the damage, start preparing the area for repair by turning off the water supply first ( in case a leak has occurred). Then, remove furniture and items from the area to avoid accidents or further damage, and don’t forget to wear protective gear like gloves and goggles to safeguard yourself during the repair process.
⇒ Removing Damaged Tiles
Carefully remove the affected tiles. Start by chiseling out the tile around the damaged tiles to avoid breaking the neighboring ones. Then, gently pull up the tiles. If they don’t come up easily, you may need to use a hammer, chisel, or tile removal tool. Be patient and cautious to minimize harm to the underlayment.
⇒ Drying and Cleaning the Area
Once the tiles are removed, inspect the underlayment for water damage. If it’s severely damaged, it may need to be replaced. Otherwise, dry the area thoroughly using fans and dehumidifiers.
It might take several days, but it’s crucial to ensure moisture is removed to prevent mold and further damage. Clean the area with a mildew-resistant cleaner to eliminate any mold spores.
⇒ Repairing and Reapplying Waterproofing Membrane
After the area is dry and clean, repair any damage to the underlayment. Then, a new waterproofing membrane will be applied to prevent future water damage.
This step is vital for maintaining the integrity of your flooring and should be completed according to the manufacturer’s instructions.
⇒ Reinstalling and Final Touches
Once the waterproofing membrane is set, you can start reinstalling tiles. Use a quality tile adhesive and follow the original layout. After laying the tiles, apply new grout, wiping away any excess.
Allow the grout to dry according to the product’s instructions before walking on the floor or replacing furniture.
Conclusion
Water damage under tile floors requires prompt and effective action to prevent structural damage and mold growth. By identifying the problem, preparing for repair, removing damaged tiles, drying and cleaning the area, and repairing and reinstalling tiles with attention to waterproofing, you can restore your floor and avoid future issues.
Remember, if the damage is extensive or if you’re unsure about any part of the process, it’s wise to consult with a professional. Addressing water damage can be a challenging task, but with patience and the right approach, you can get your tiled floor looking as good as new.